
The word manicure always triggers the urge to visit a salon and enjoy a nice day of nail pampering. But these visits can be a burden on your schedule, and don’t forget, heavy on your pocket. Does that mean your nails go without any care? Well, not!
Source: pixabay.com
You can simply bring the nail pampering session to your home using these simple tips to perform a manicure.
Build A Toolkit
Manicure is an essential part of self-care and if you decide to enjoy time with your nails at home, then equip yourself with the necessary tools. Having the right tools for the manicure can ensure quick and pain-free results. It can save you additional trips to the salon to get the perfect finish.
The good thing is that you can now buy everything online. There are online stores like Polish Pops that offer these kinds of products. Make it easier for us to purchase in the comfort of our homes.
The following tools are essential to become a part of your manicure box:
- Nail clippers
- Nail buffer and Emery board
- Cuticle pushers and nippers
- Cuticle remover
- Nail polish
- Nail polish remover and cotton pads/ Nail polish removing pads
- Basecoat
- Top Coat
- Cuticle Oil
- Moisturizer
Clean Up
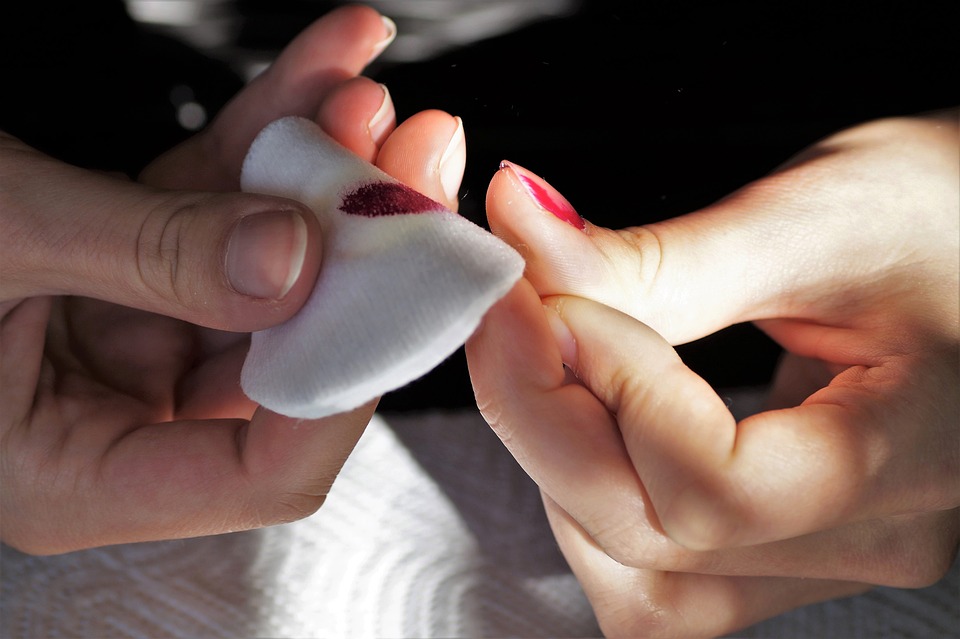
A critical step to ensure a good finish for your manicure is to start with a clean canvas. Avoid painting over chipped nails as it will create an uneven mess. Instead, start fresh by wiping the nail color using a polish remover. Choose polish removers wisely, as acetone in these products could cause excessive nail drying. Look for products with supplements like Vitamin E that can protect your nails.
Source: pixabay.com
Gently rub the nail polish from the nails using a cotton pad dipped in the remover. Do not scratch on the polish as it could damage the nail. If the color takes longer to remove, keep the nail wrapped in the soaked pad for a few seconds, and it will come out quickly.
Shape It
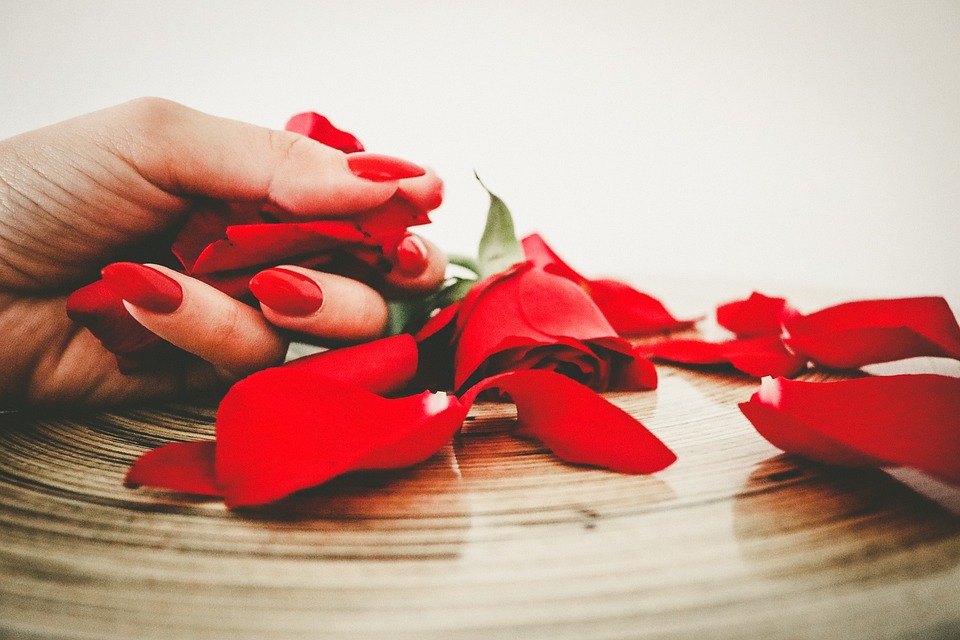
Once you remove the previous nail color, it is time to shape your nails for the new manicure. You can experiment with different finishes for your nail shape, such as round, oval, or square with a rounded edge. In many cases, the shape of the nail is chosen to best compliment the final manicure style.
For example, you can create a classy gel french manicure at home without visiting the salon using the tools you have. The best shape to compliment this would be square, smoothly filed on the edges. Don’t forget to buff your nails by gently rubbing them on the buffing board. It helps eliminate uneven texture or bumps to give a smooth and elegant finish.
Soak And Lock Moisture
To recreate a salon-like experience, a simple pampering of the hands would be your next step. Fill a small bowl with warm water and add a few drops of your favorite essential oils, bath salts, or fragrance. Soak your hands for a few minutes to soften the cuticles before a trim. You can alternatively use a mild shampoo or body wash. A scrub might be a good idea if the cuticle area requires some special attention. But be careful to handle your nails gently to avoid damage.
Source: pixabay.com
Remove soaked hands and pat dry with a towel. Now take a small portion of a hand moisturizer and rub it all over your hands. Create circular motions to gently massage the product into the skin for the best results. It is an essential step as daily moisturizing of hands helps protect them from harsh chemicals and also reduces the appearance of age signs and dullness.
Care For Cuticles
It is time to work on the cuticles to create the perfect shape. If you do not have too many calluses around the cuticle area, you can gently push them back using a cuticle stick. But if the cuticles need trimming, start by applying the remover. Now remove the excess calluses and cuticles using a cotton swab. Wash your hands to remove the excess chemicals and apply cuticle oil in the region. Massage it softly to hydrate the skin. Remember not to overdo the cuticle removal as it could increase the chances of an infection.
Time To Polish
For the polish, start with a base coat to strengthen the nail. It will help evenly spread the color and protect the nail from yellowing due to the dye elements from the nail polish. Now apply the nail colors of your choice in layers giving enough time for each one to dry before applying another.
You can also experiment with different styles, such as ombre, using simple tools from your manicure kit, such as a sponge. If you enjoy stones or other accessories to create nail art, you can work on them. You could go for gel nail colors as they tend to give an even finish and last longer. Finally, apply the topcoat with transparent polish to add a gorgeous sheen to the nails.
Dry Up
The final step is usually the toughest and the most time-consuming – drying your manicure. Avoiding activities that could chip or smudge away all the efforts in a second is quite challenging. You can therefore use UV light that helps the manicure to dry faster. But regular use could damage the skin in the region and make the nails brittle.
Instead, use cuticle oil to act as a slippery barrier and help the nail art dry faster. Finally, moisturize your hands after the manicure is dry and you are ready to enjoy those beautiful nails.
Conclusion
Who needs frequent salon visits to flaunt a perfect manicure when you can create the finish effortlessly at home? Try these simple steps to enjoy an ideal manicure session for gorgeous and healthy nails at home.